July 23, 2017

Niku Miso Dip With Vegetables

There is Japanese appetizer called "Niku Miso Kyuri" - Ground beef miso paste with cucumber.
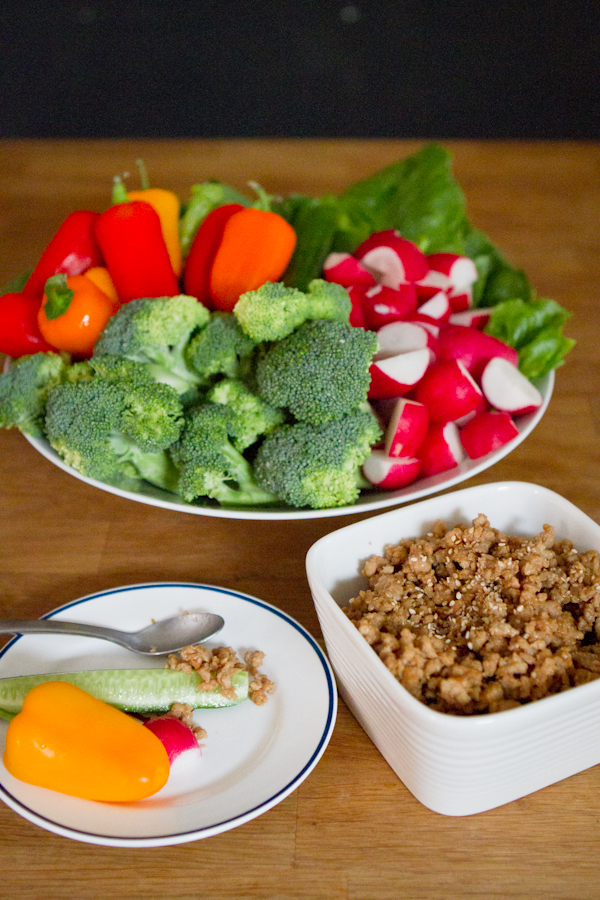
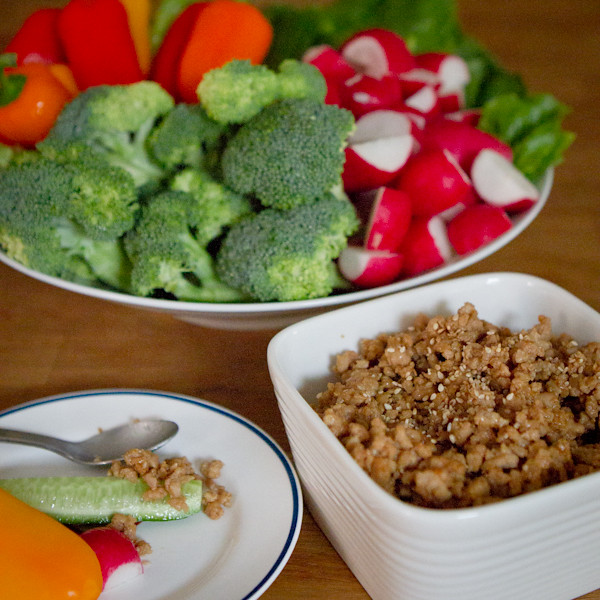
Normally this ground beef is served with cucumber but I tried with other vegetables.

I like this dish because you can eat raw vegetable all you want with nice protein dip. I tried with ground beef, chicken, and turkey and they all taste good. For healthy option turkey might be better choice!

Miku Miso with Vegetable


Niku Miso Dip With Vegetables

Niku Miso Vegetable Dip:
- 500g ground beef or chicken or turkey
- 3 tbsp miso
- 2 tbsp soy sauce
- 3 tbsp sugar or brown sugar
- 3 tbsp mirin or sake
Option:
- 1 onion, minced
- 2 tbsp water + 0.5 tbsp potato starch (Use this if your ground meat gets too saucy)
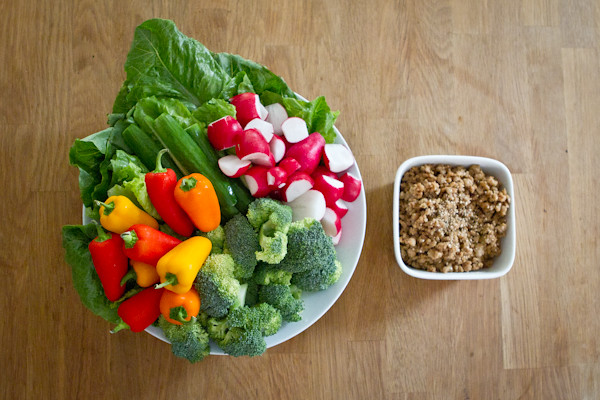
Vegetables:
- Cucumber
- Mini peppers
- Radish
- Broccoli
- Lettuce

1. With optional onion, stir-fry it on medium sauce pan until brown.

2. Add ground beef and cook until it's no longer pink.

3. Pour, miso, soy sauce, sugar, mirin and mix all together.

4. Let it simmer until the sauce thickens. If it gets too saucy you can add potato starch to thicken faster.

Miku Miso with Vegetable

Niku Miso

July 16, 2017

Moleskine Fish Log

I started fishing about 5 years ago now.
Been logging my fishing trips in my planner but I thought maybe it's time to have its own official fishing logbook!

It's one of those thing I'm hoping to log my entire fishing life recorded in this notebook.

Scroll down to see the tutorial!

Moleskine Fish Log

Moleskine Fish Log: material


Materials:
- Moleskine Soft Cover Ruled Notebook: 192 lined pages, 13x21cm - 5x81/4''
- 1 Sewing Needle
- 1 colors Embroidery Threads
- Sewing Awl or Ice Pick
- Pencil and Eraser


1: Design a cover. 

Moleskine Fish Log: concept

Moleskine Fish Log: concept 2


2: With piece of paper following the dimension of the notebook, draw out the design.

You are using this as transferring paper, so use a pencil to color in the entire design.

Moleskine Fish Log: transfer


3. Open the notebook and place the transfer behind the cover(front side facing down). Use any paper clip to secure the transfer if needed.

Redraw the design backward to transfer the design.

Moleskine Fish Log: transfer2


4. Use sewing awl to prick holes with desired length. This will be your stitch length.

Moleskine Fish Log: stitch hole


This is how it looks like from the back cover(image left) and the front cover(image right).

Moleskine Fish Log: final stitch


5. With embroidery thread, unthread the strings(it's usually 6-ply thread). I used 3-ply thread for stitching.

Moleskine Fish Log: threads


6. Now follow the holes to stitch.

Moleskine Fish Log: stitching


Example result:

Moleskine Fish Log: front and back

Moleskine Fish Log: close up

Moleskine Fish Log: back

July 9, 2017

Outfit Inspiration 17

Summer outfit!

Target : white tank-top / Orbs : skirt / Garage Clothing : flip-flops / Urban Outfitter : canvas bag / Coolibar : wicker hat

Outfit Inspiration 17